PL-SQL
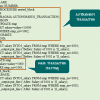
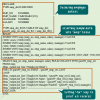
Autonomous Transaction in Oracle PL/SQL: Commit, Rollback
What are TCL Statements in PL/SQL? TCL stands for Transaction Control Statements. It will either save...
MySQL is an open source relational database.
MySQL is cross platform which means it runs on a number of different platforms such as Windows, Linux, and Mac OS etc.
In this MySQL Workbench tutorial, you will learn-
There are a number of relational database management systems on the market.
Examples of relational databases include Microsoft SQL Server, Microsoft Access, Oracle, DB2 etc.
One may ask why we would choose MySQL over the other database management systems.
The answer to this question depends on a number of factors.
Let's look at the strengths of MySQL compared to over relational databases such as SQL Server-
In order to interact with MySQL, you will need a server access tool that can communicate with MySQL server. MySQL supports multiple user connections.
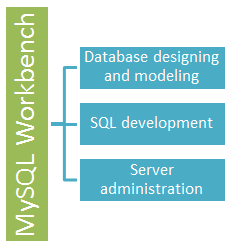
MySQL Workbench is a Visual database designing and modeling access tool for MySQL server relational database. It facilitates creation of new physical data models and modification of existing MySQL databases with reverse/forward engineering and change management functions. The purpose of MySQL workbench is to provide the interface to work with databases more easily and in a more structured way.
The figure shown below shows the modeling window for MySQLWorkbench.

Structured Query Language (SQL) allows us to manipulate our relational databases. SQL is at the heart of all relational databases.
The figure shown below shows the SQL development window for MySQL Workbench.

Server administration plays a critical role in securing the data of the company. The major issues concerning server administration are users' management, server configuration, server logs and many more. Workbench MySQL has the following features that simplify the process of MySQL server administration;
The figure shown below shows the Admin panel for Workbench MySQL.

In this MySQL Workbench tutorial for beginners, we will learn how to install and use MySQL Workbench.
Install MySQL workbench is a 2 step process.
1) Install MySQL Community Server
2) Install MySQL workbench - You can install the workbench using a zip file or an msi installer (recommended)
Note: You will require Administrator or Power User Privileges to perform installation.
Getting Started
Once you have finished installing above you need to set up MySQL Workbench as shown below-
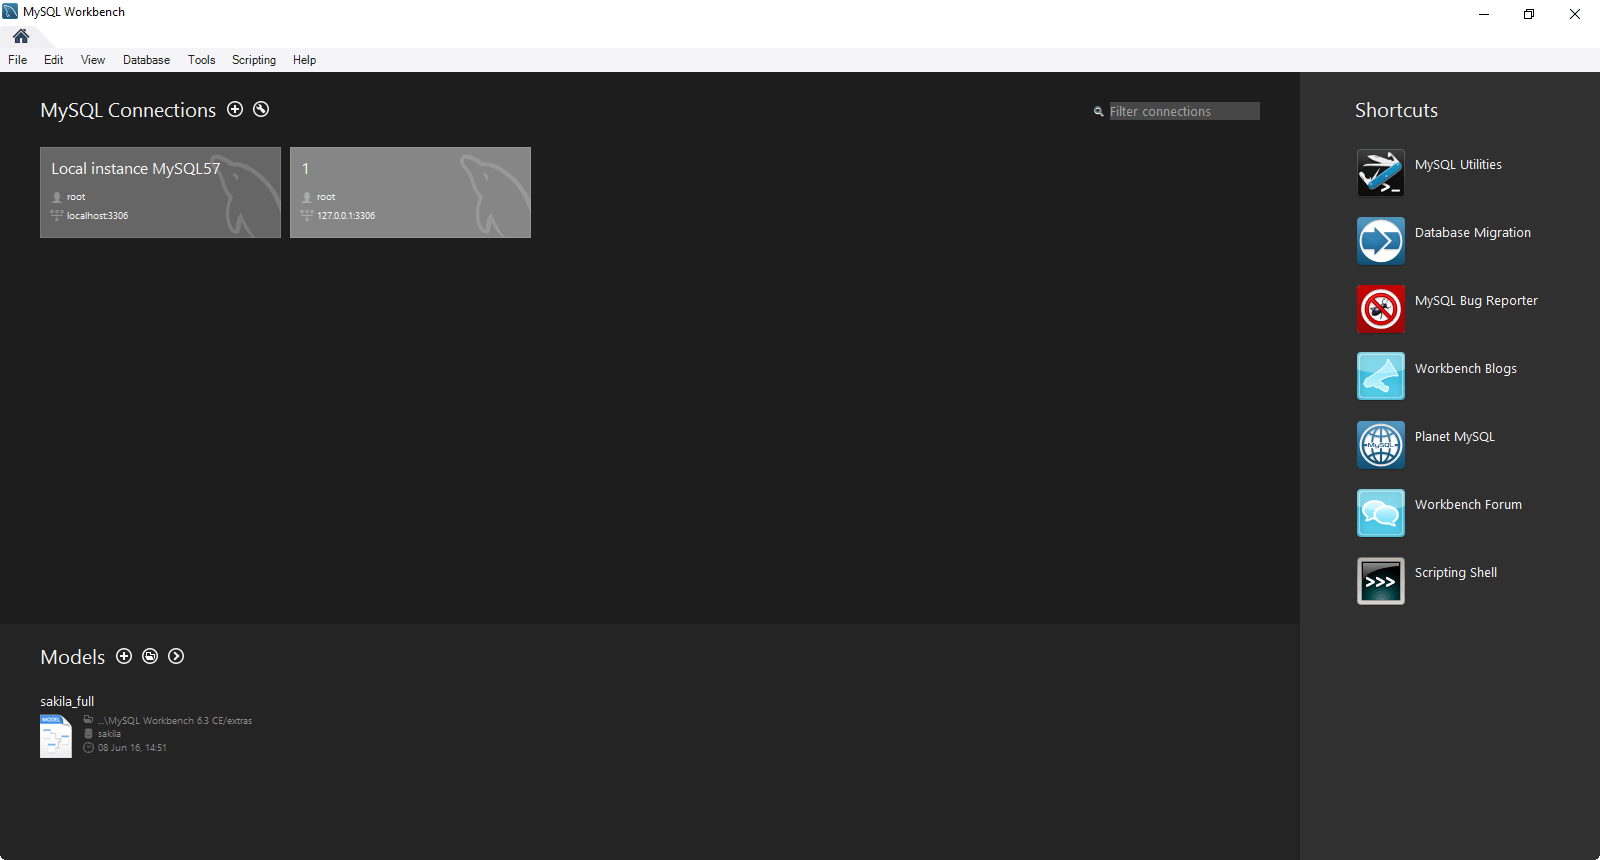
1. First step is launching the Workbench MySQL. What you see is called Home Window
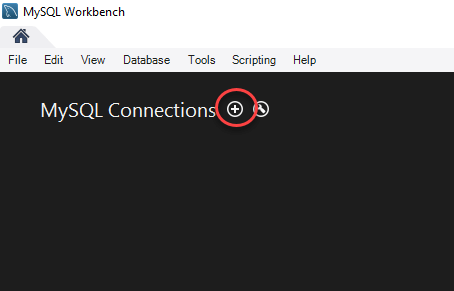
2. Next you need to create your MySQL Server Connection which contains details about target database server including how to connect to it. Click " + " in MySQL Workbench Home Window. This will open Setup New Connection. Wizard
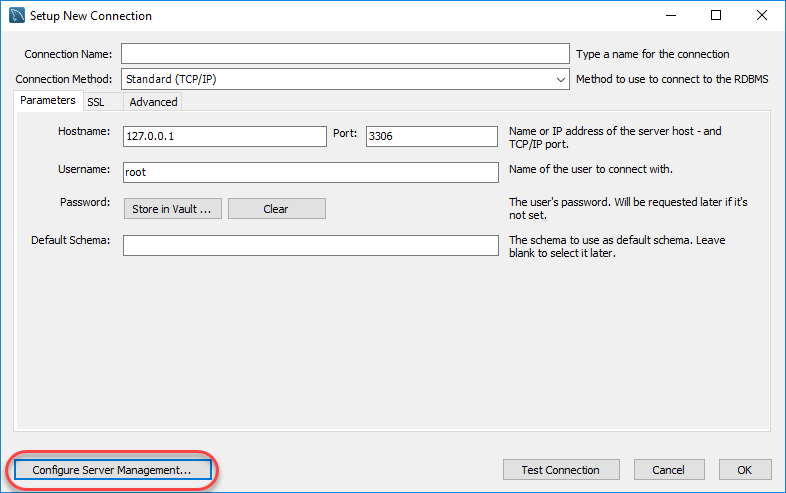
3. As a beginner you can create a connection for a locally installed server. Click Configure Server Management button in Setup New Connection window to check the cofiguration of the MySQL server.
4. A new window opens named Configure Local Management. Click Next button to continue.

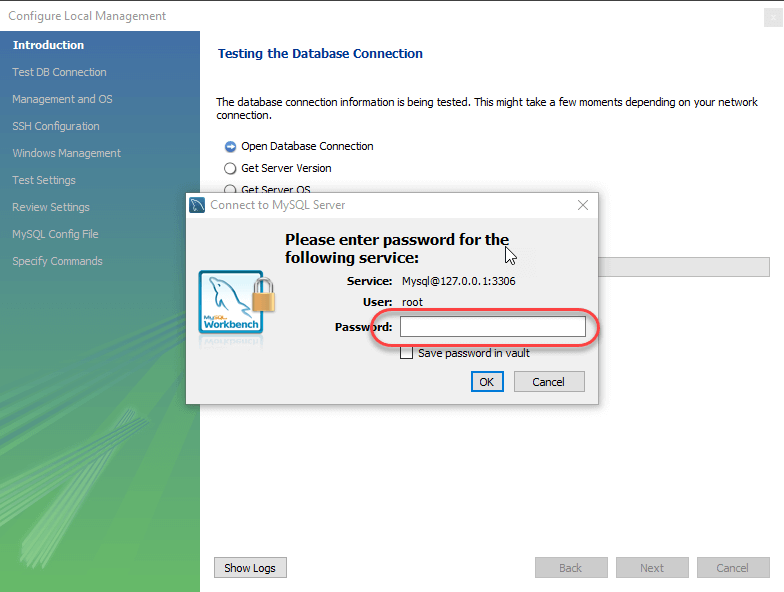
5. Next the Wizard will test connections to database. If test fails, go back and correct database connection parameters.5. Next it will open a pop up window asking your root password to test your connection with the local mysql server instance. The password is the one you set during installation of MySQL Workbench. Enter your password and press OK
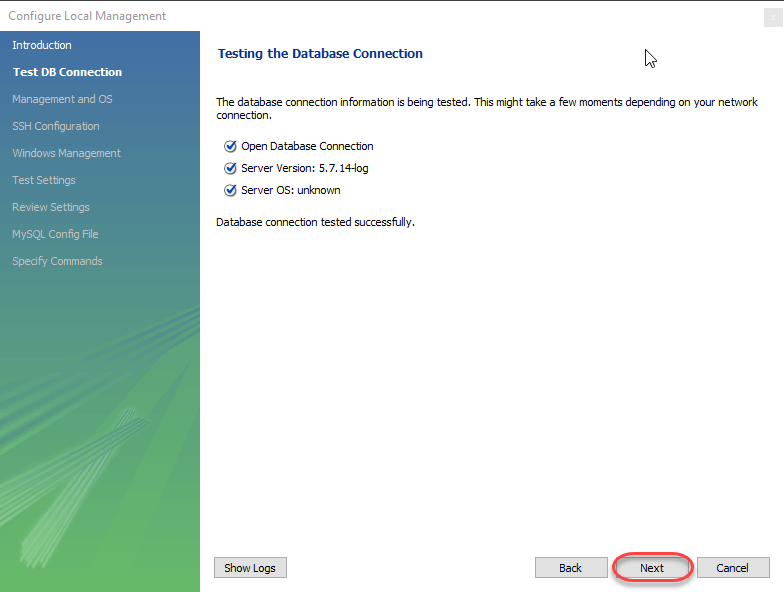
6. Next the Wizard will test connections to database. If test fails, go back and correct database connection parameters. Else if all tests are sucessful click Next to continue.
7. After that a new wizard will open about Local Service Management - It lets you switch between multiple mysql severs installed on one machines. As a beginner you can bypass this and click Next to continue.
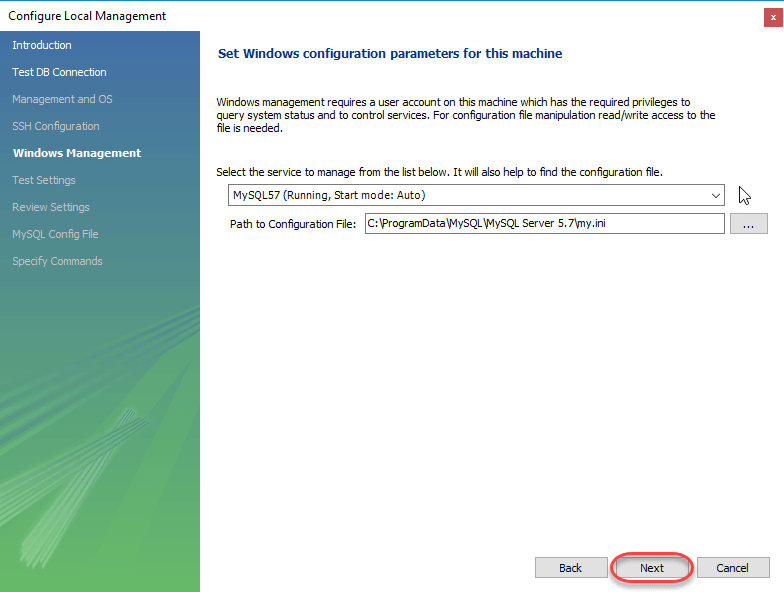
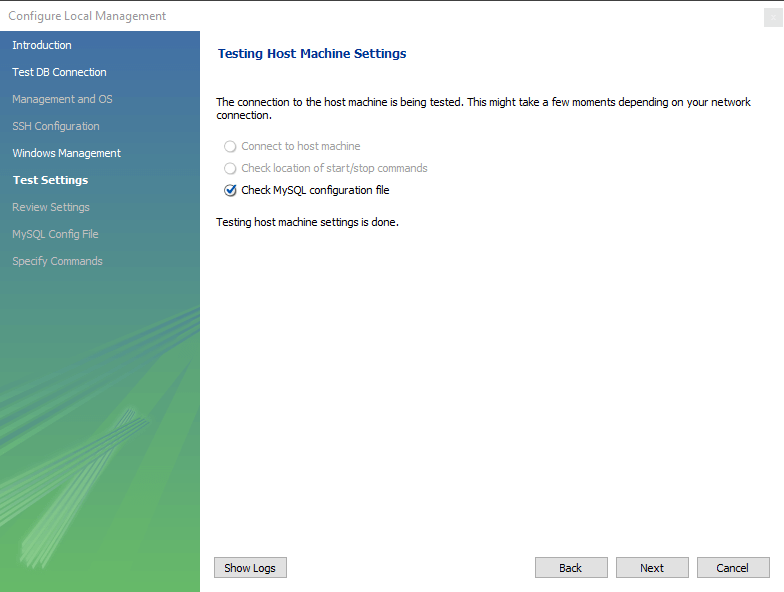
8. The Wizard will then check ability to access MySQL Server Configuration File, and test start/stop commands.
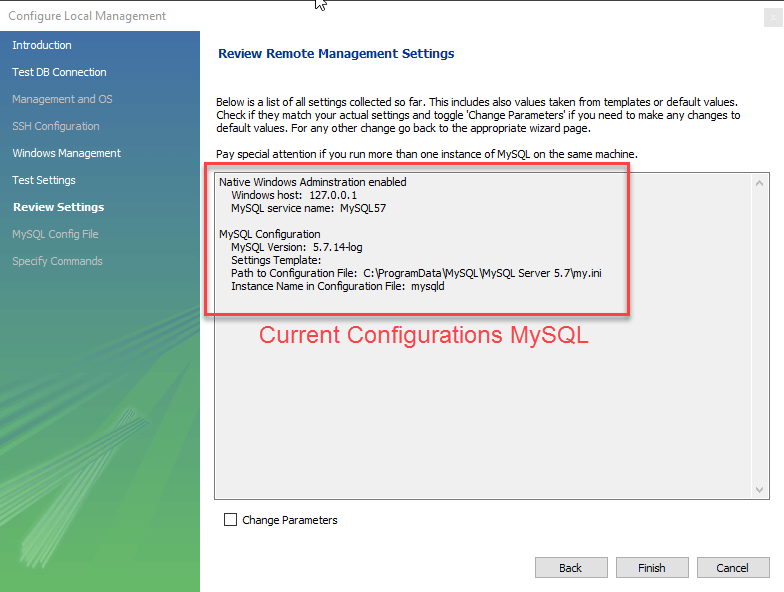
9. Next you can review current configurations. After reviewing the configurations, Click Finish to finsh server cofiguration
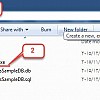
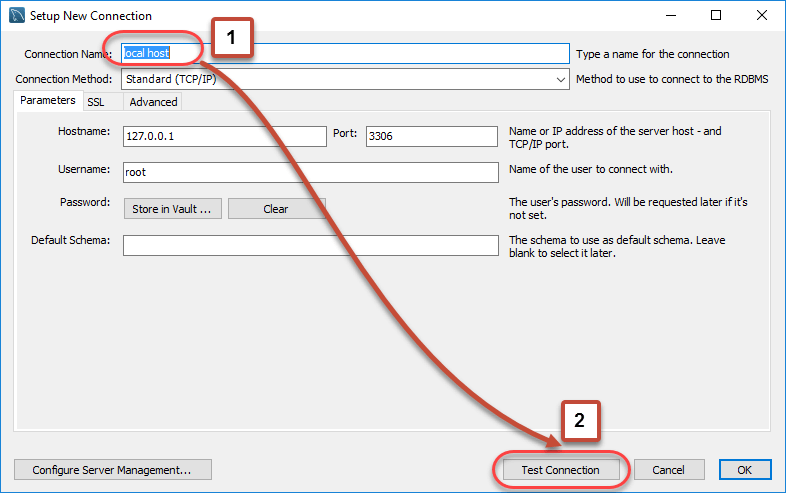
10. Next Step is to setup a connection, which can be used to connect to server. If you have not created a connection already, you can use the default values given. Click on Test Connection [ 2 ] after entering the Connection Name [ 1 ].
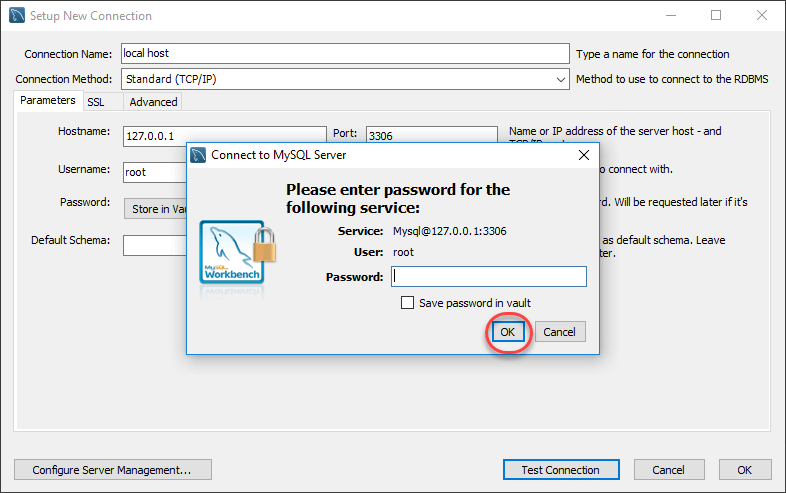
11. A new dialog box will open asking you password to root/selected user. If your MySQL root user has a password, you can enter that using Store in Vault feature. Click OK.
If the entered password for the user is correct then the following screen will show. Click on both OK buttons and you will be good to go.
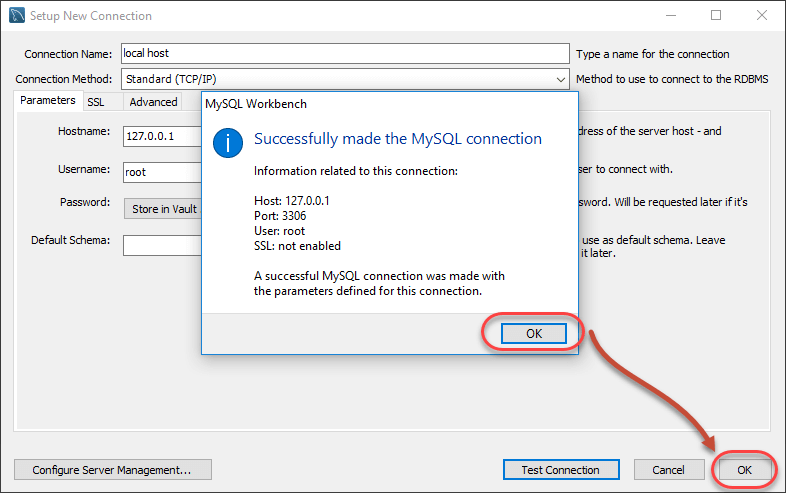
A new instance is shown in the homepage.
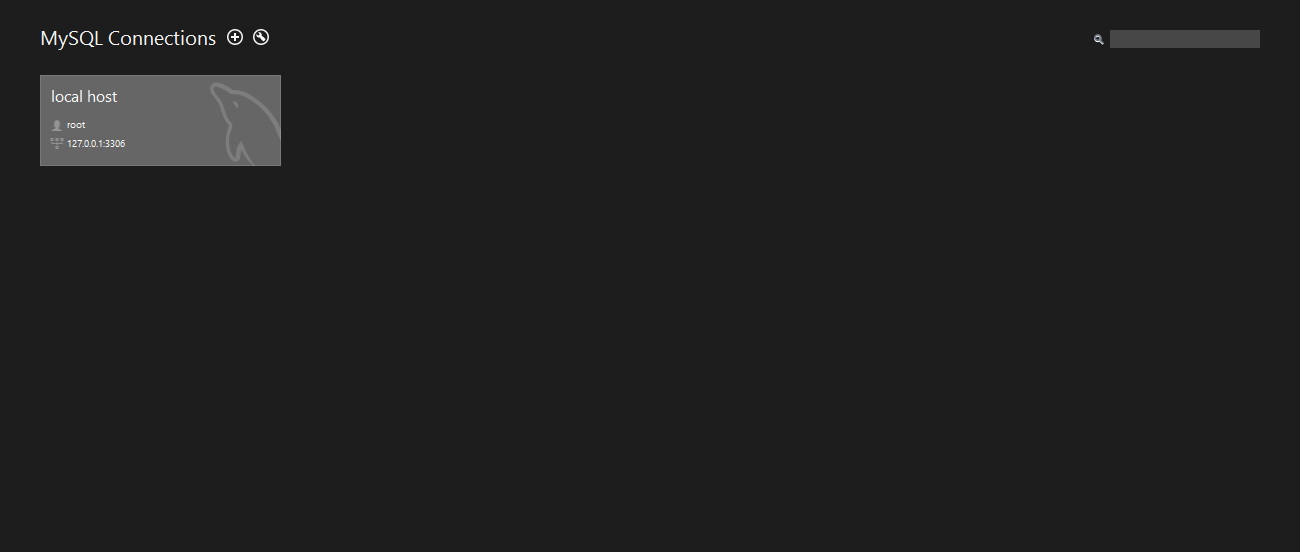
Double click and start querying.
What are TCL Statements in PL/SQL? TCL stands for Transaction Control Statements. It will either save...
$20.20 $9.99 for today 4.6 (120 ratings) Key Highlights of SAP HANA Tutorial PDF 253+ pages eBook...
What is Collection? A Collection is an ordered group of elements of particular data types. It can...
What is the LIMIT keyword? The limit keyword is used to limit the number of rows returned in a...
SQLite equipped by default, with a list of built-in functions within the SQLite library. You can...
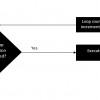
What are Loops? Loops allows a certain part of the code in a program to get executed for the...