Selenium
Selenium Headless Browser Testing: HTMLUnitDriver & PhantomJS
Selenium Web driver is a web automation tool which enables you to run the tests against different...
In this tutorial, you will learn-
Prepare the Project
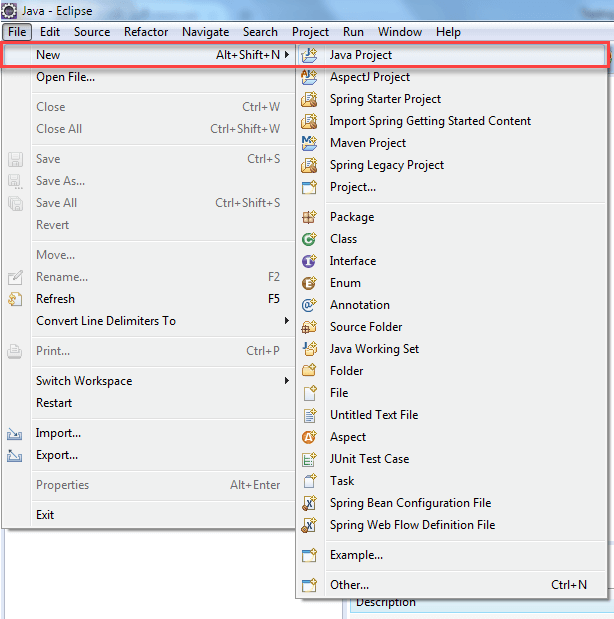
Step 1) In Eclipse, Create Java project by clicking on new Java Project
Step 2) In this step,
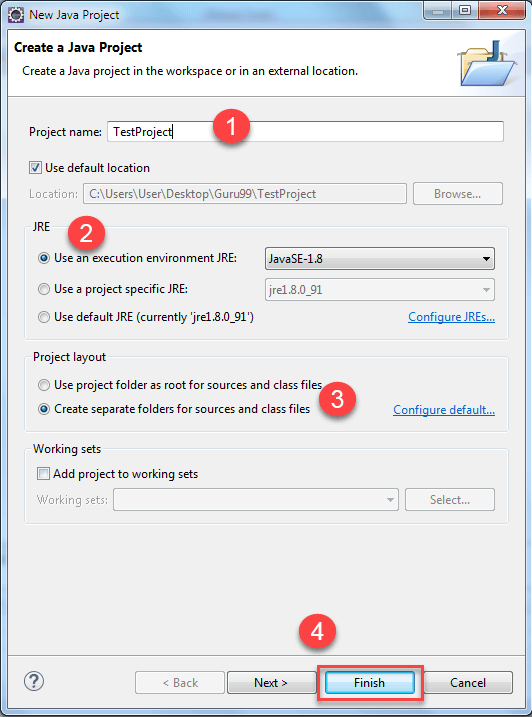
When you click on finish button. The "TestProject" java project is created. The "TestProject" will look like this.
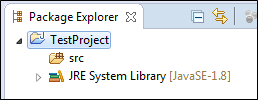
Step 3) Open that newly created project. You will able to see the "src" folder in Package Explorer.
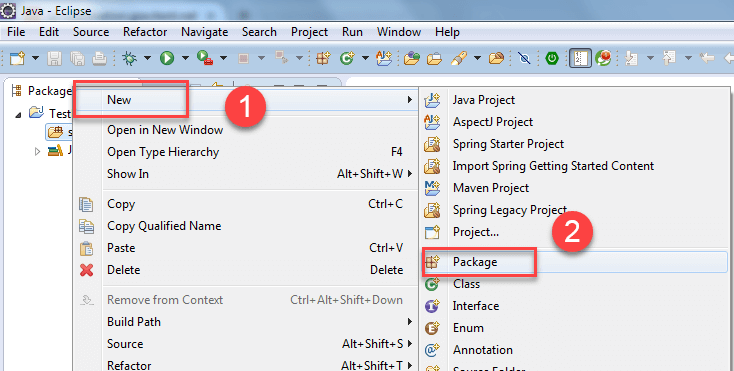
Step 4) In this step,
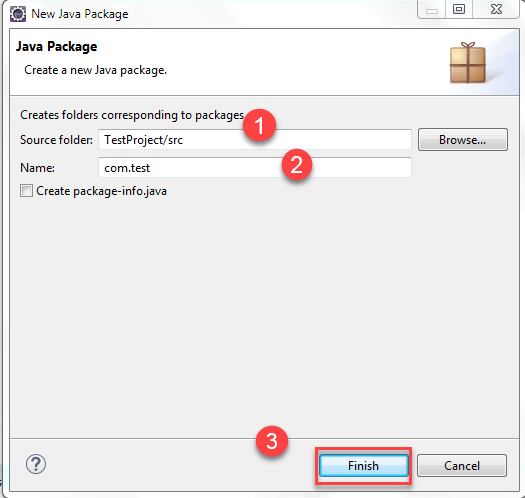
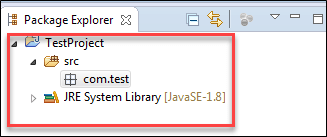
After clicking on "finish" the project structure will look like this:
Step 5) In this step,
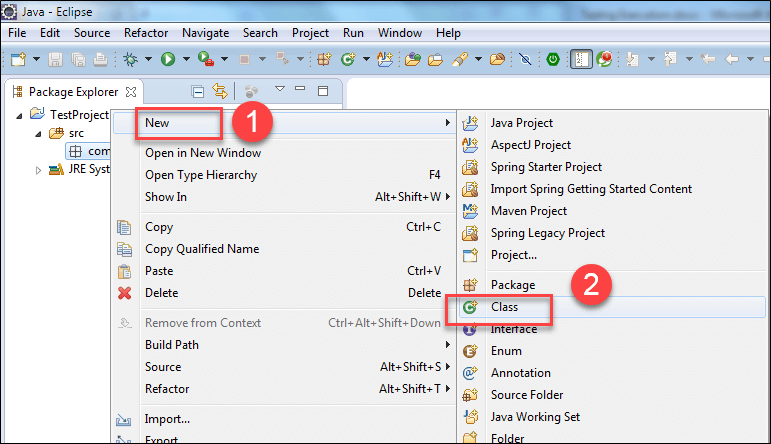
A new window will open.
Step 6) In this step,
Here, you are creating two classes ex: DemoA, DemoB.
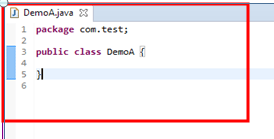
First Create Class DemoA.
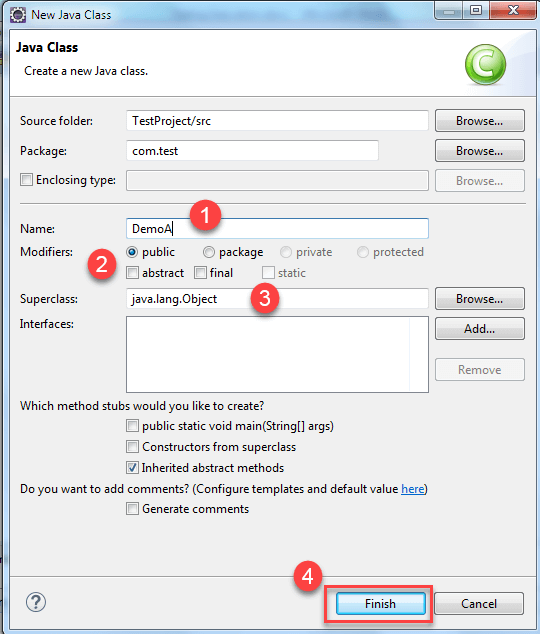
When you click on "Finish" Button. Then it will going to create class like this:
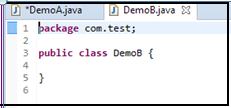
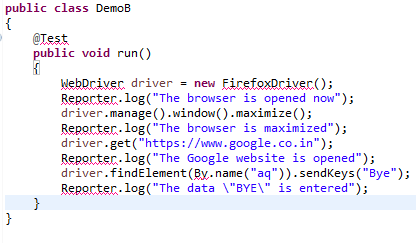
Similarly, create class DemoB, When you click on "Finish" Button class will look like below-
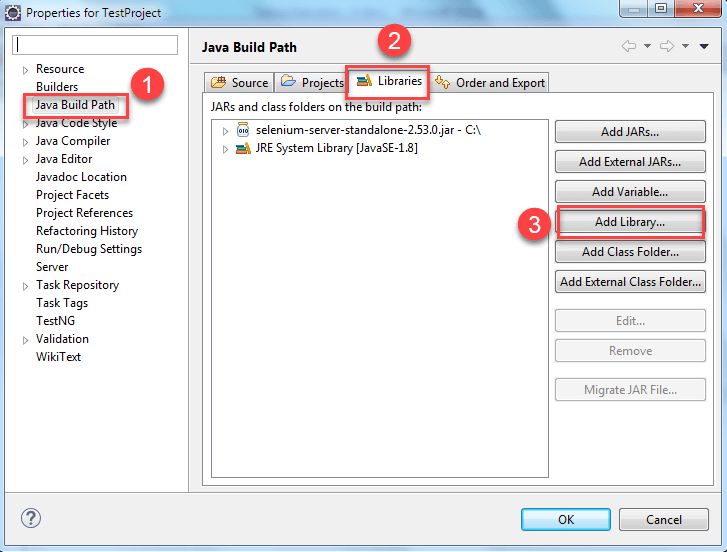
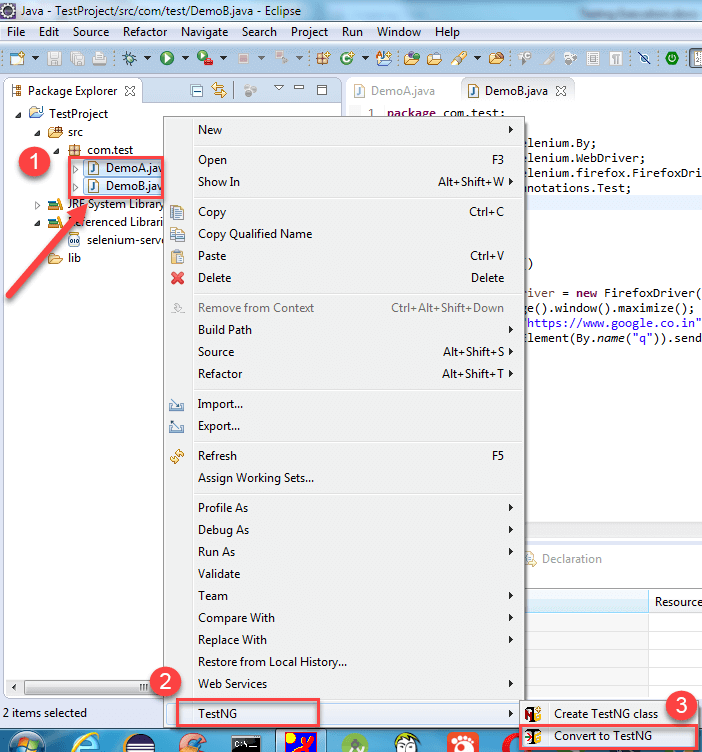
Step 7) If you have installed TestNG library just click on Java Project--->Properties.

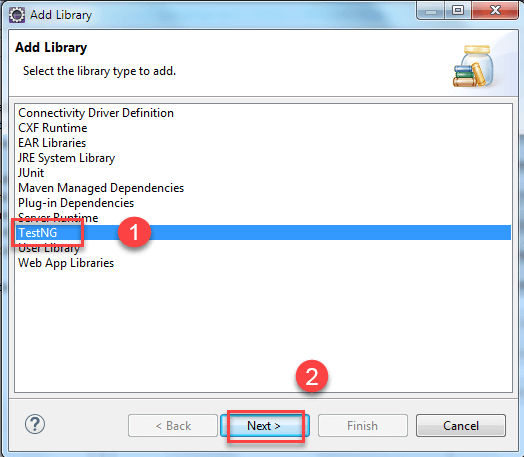
Step 8) Now in properties window,
Next
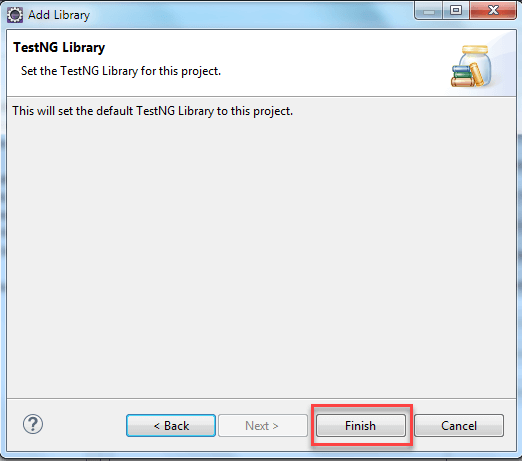
Then Click on "finish" button.
After this, write the following code.
For Class DemoA
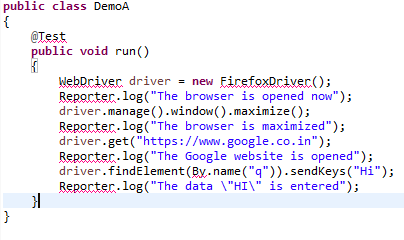
Code Explanation:
This line will going to maximize the Browser window.
This line will enter the specified URL in the URL field.
This line will going to identify the "Google" search box and enter the data you sent using sendKeys method.
Output: The above program contains the errors, so it is not possible to execute.
Similarly for Class DemoB,
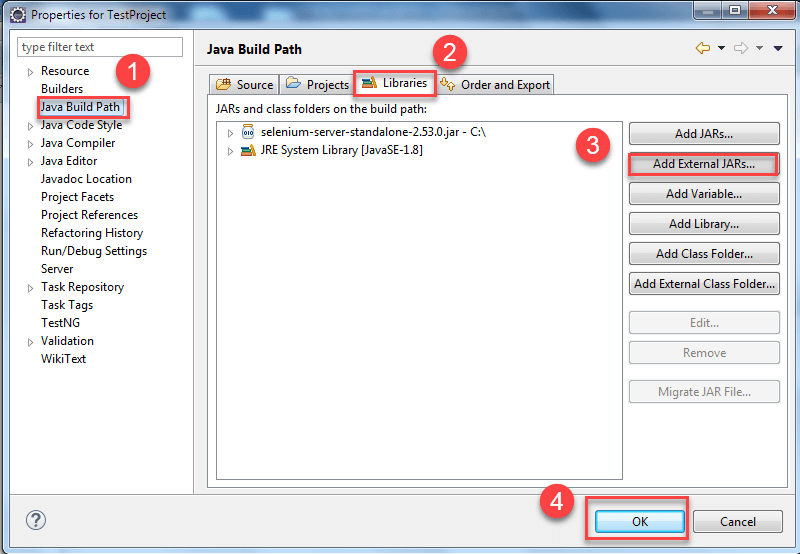
The red color underlined words are the errors here. Because you have not yet added the jar file that contains these classes and interfaces. In order to remove the errors present in the above code add the corresponding jar file. Right click on the Java Project and Select "Properties".

Step 8) In the property window,
After this step, all the errors will be removed automatically. If not then place the mouse over the code which is showing errors and import all necessary classes and interfaces.
For @test if it is still showing errors then place the mouse over there. It will show the possible options. Then click on add TestNG Library option. Similarly do it for other 'class' also.
After writing your code inside both the classes i.e. DemoA, DemoB go to the next step.
Step 9) In this step,
(Testng and Selenium-server-standalone jar file need to be downloaded from web and store it inside your system. You need to manually go to that folder and copy these two jars and right click on 'lib' folder present in eclipse and click on paste)
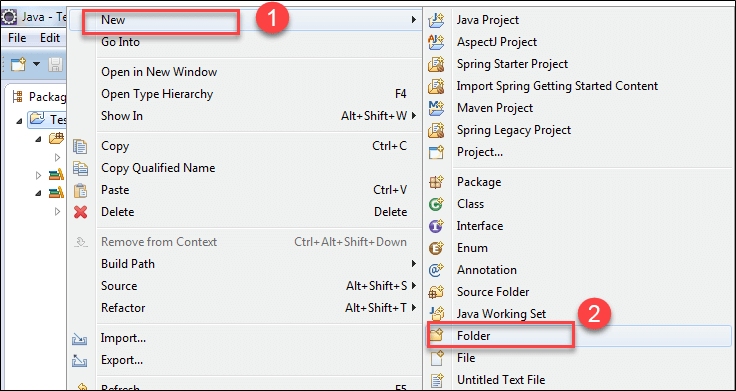
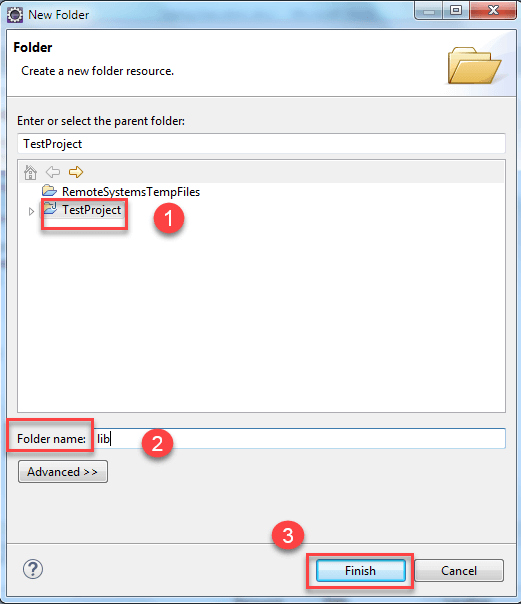
Step 10) In this step,
1. Select the parent folder
2. Give the Folder name as 'lib' and (The primary purpose of adding these two jar files in the lib folder is that, while executing from the command prompt you can tell the compiler that the required jar files for the execution of the program are present in this location. If you want to execute testng.xml from eclipse then this lib folder is not at all required)
3. Click on 'finish' button
Testng and Selenium-server-standalone jar file need to be downloaded from web and store it inside your system. You need to manually go to that folder and copy these two jars and right click on 'lib' folder present in eclipse and click on paste
After creating a folder, next step will be converting our programs that are DemoA and DemoB into Testng.xml file.
Step 1) In this step,
Step 2) A new window will open. In this window, enter details like

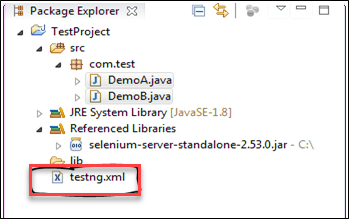
Then the testng.xml file created under the java project, and it will look like this.
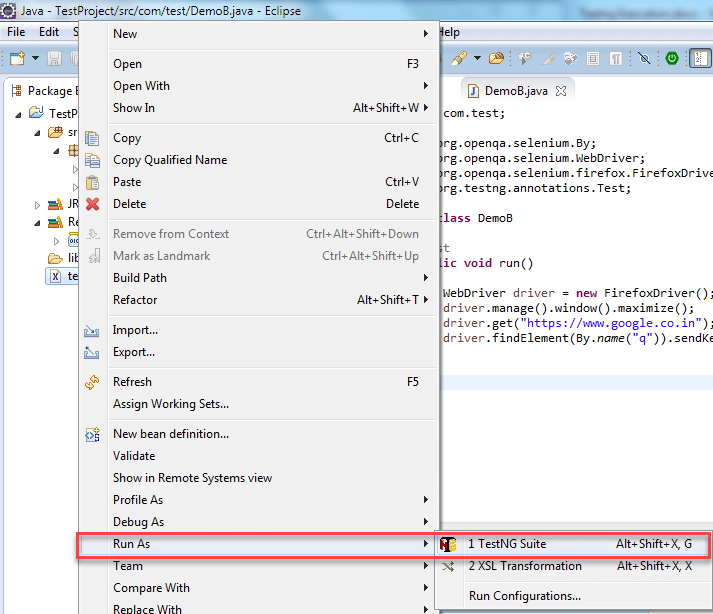
(if you want to run that testng.xml file then Right click on that testng.xml file present on the left navigation pane in Package Explorer and click on run as TestNG Suite. )
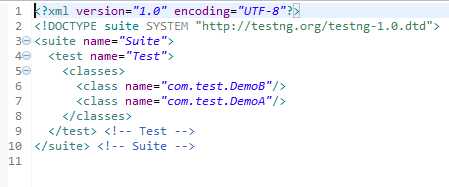
Step 3) The testng.xml suite file will look like this:
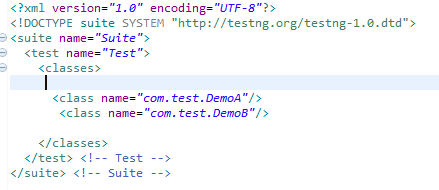
If you want to execute DemoA class first, then remove that complete line and add it before DemoB class like this:
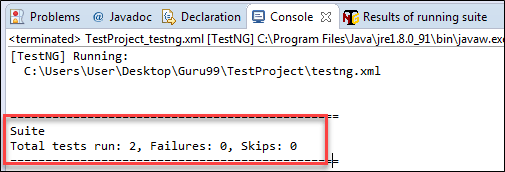
Step 4) After executing the testng.xml file, it will display the result in the following manner. (Since you have not written any executable statements using System.out.println() so it is not printing anything on the console window).
This is one of the ways you will execute test through the eclipse, if you want to execute the same testng.xml suite file that contains two class file such as DemoA, DemoB from the command prompt you need to follow the below steps.
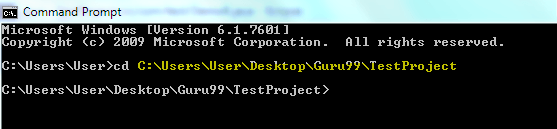
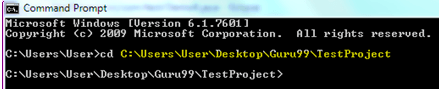
Now open the command prompt and go to the Project workspace.
You need to find the location of the Project Space
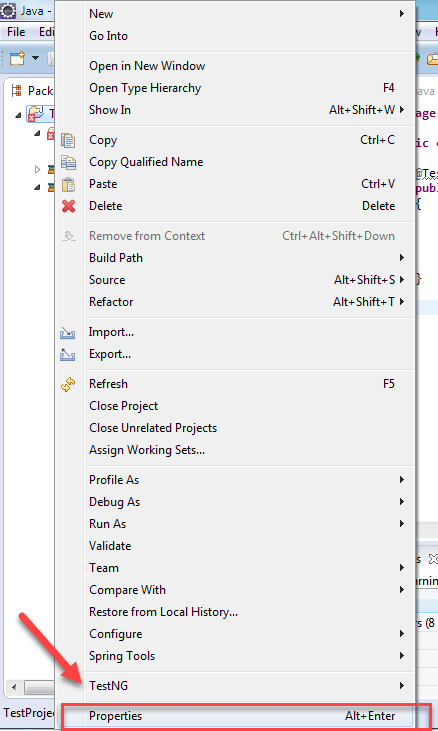
Step 1) First right click on the Java Project and Select the properties option. In properties window select option resource.
Step 2) Now when you click on "resource" link, present in the left navigation pane. It will show where exactly the project is stored
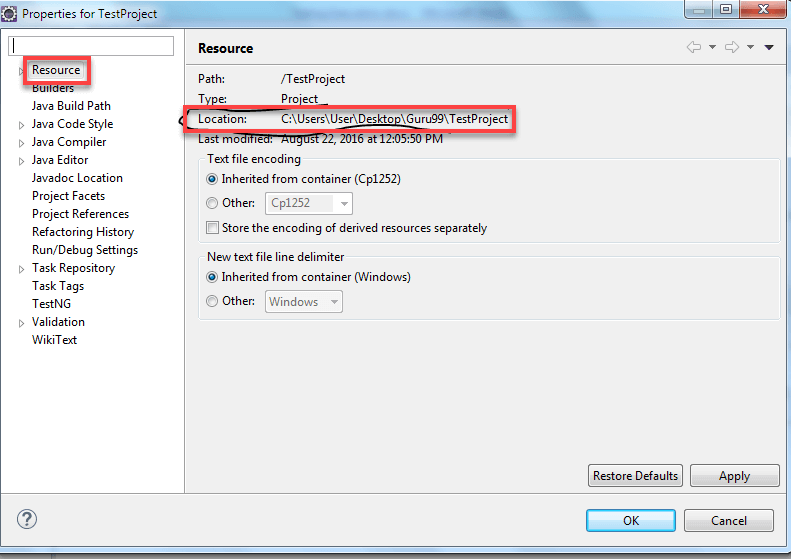
The project workspace is C:\Users\User\Desktop\gtupapers\TestProject. So you are changing directory to that particular location.
Step 3) Then type the following command. (This command is generic command)
java –cp "path of lib folder present in workspace\*; path of bin folder present in project workspace; path of testng.jar file present in lib folder of project workspace" org.testng.TestNG testng.xml
but for our project you need to write the following command.
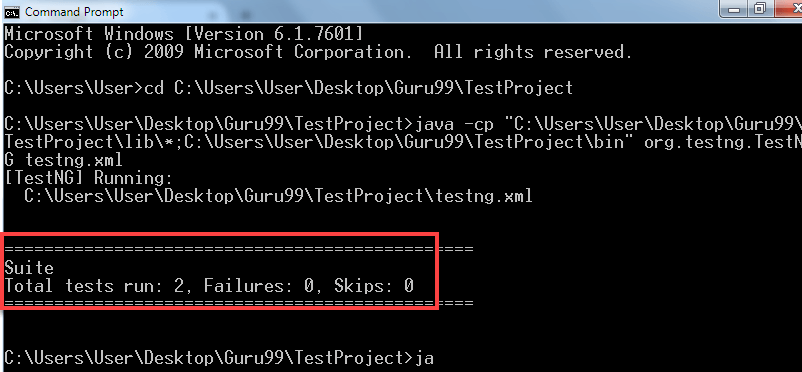
Java –cp  "C:\Users\User\Desktop\gtupapers\TestProject\lib\*;
  C:\Users\User\Desktop\gtupapers\TestProject\bin" org.testng.TestNG testng.xml
Step 4) Then press the Enter. Both the classes DemoA and DemoB will start their execution. Finally, it will display the result on the command prompt.
If you want to execute only failed test cases through the Eclipse, then first refresh the project.
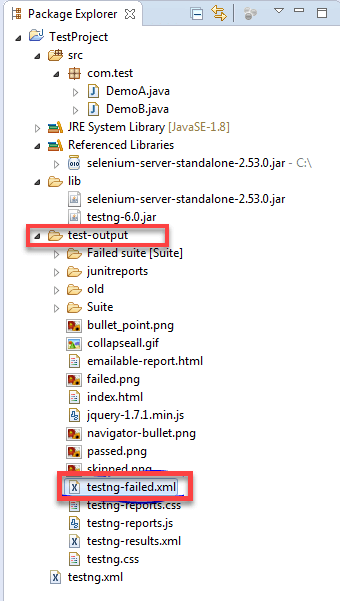
Step 1) Right click on the java project (Demo A and B). Select the refresh option or simply select the java project and press F5.
Step 2) Then you will able to see the test-output folder. In that folder, you have a file with name testng-failed.xml.
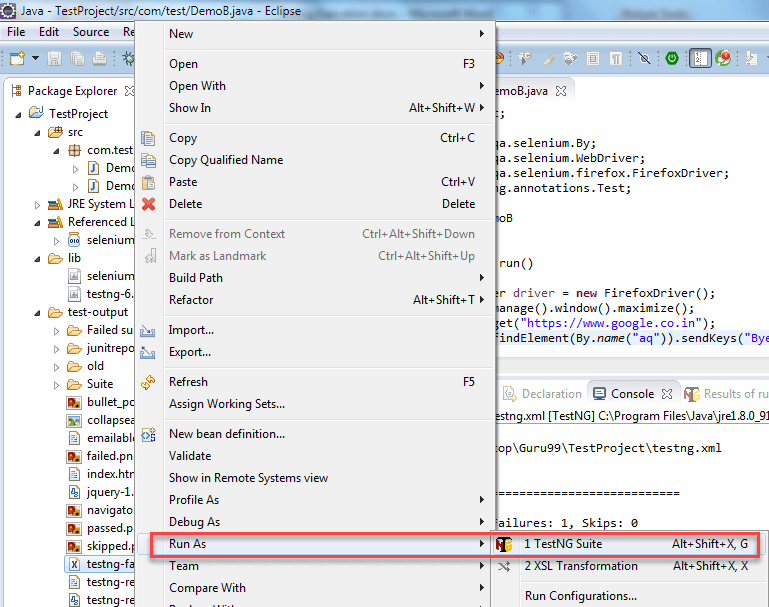
Step 3) Right-click on this file and click on run as and select the option called "testNG suite".
Suppose if you have three test cases if all the test cases are executed successfully means you are not able to see this folder under the test-output folder. This folder will appear only when one of the test case is failed. Then run this file, it will going to run only failed test cases.
Step 1) To run failed test cases in command prompt. Open the command prompt and go to the Project workspace.
My project workspace is C:\Users\User\Desktop\gtupapers\TestProject. So you will be changing directory to that particular location.
Step 2) Type the following command. (This command is generic command)
java –cp "path of lib folder present in workspace\*; path of bin folder present in project workspace; path of testing.jar file present in lib folder of project workspace" org.testng.TestNG test-output/testng-failed.xml
For our project, you need to write the following command.
Java –cp "C:\Users\User\Desktop\gtupapers\TestProject\lib\*;
C:\Users\User\Desktop\gtupapers\TestProject\bin" org.testng.TestNG test-output/testng-failed.xml
Step 3) Then press the Enter. It will going to run only failed classes and display corresponds to that class only.
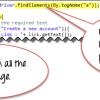
In the above class i.e. DemoB just change the code like this.
driver.findElement(By.name("a")).sendKeys("Bye"); The above code will not going to find any element. So, it will throw the exception. But in our program, you are not handling the exception so our program will stop executing the remaining code. Because of this reason, the ClassB will going to fail.

Summary:
This article is contributed by Sandeep Batageri
Selenium Web driver is a web automation tool which enables you to run the tests against different...
In this tutorial, we will learn, Store commands, Echo commands, Alerts and Popup handling. Storing...
Desired Capabilities Desired Capabilities is a class in Selenium used to set properties of...
What is Selenium? Selenium is a free (open-source) automated testing framework used to validate web...
What is Cross Browser Testing? Cross Browser Testing is a type of functional test to check that...
What are Broken Links? Broken links are links or URLs that are not reachable. They may be down or...